
Screenshots for – How to Add Certificates on LinkedIn all certificates, can skip mobile,How to Add Certificates Without a Credential URL, >Adding Certificates Issued by Your Employer or University
Infographics: Why certificates matter on LinkedIn, how to add certificates on LinkedIn, best practices to optimize certificates
How to Add Certificates to LinkedIn: A Step-by-Step Guide
Keeping your LinkedIn profile updated is more than polishing your headline or uploading a new photo—it’s about showcasing your achievements in ways that recruiters and clients trust. One of the most impactful ways to do this is by adding your professional certificates directly to LinkedIn. These credentials not only validate your skills but also set you apart in searches, applications, and networking opportunities.
Why “Certificates on LinkedIn” Matter
Adding certificates to your LinkedIn profile isn’t just about showcasing credentials—it’s about telling the story of your professional growth. In today’s competitive job market, recruiters and hiring managers are actively scanning profiles for proof of relevant skills and continuous learning.
Whether you’ve completed a formal certification, an online course, or a micro-credential, featuring it on your profile helps position you as a proactive, credible, and skilled professional. Here’s why they matter:
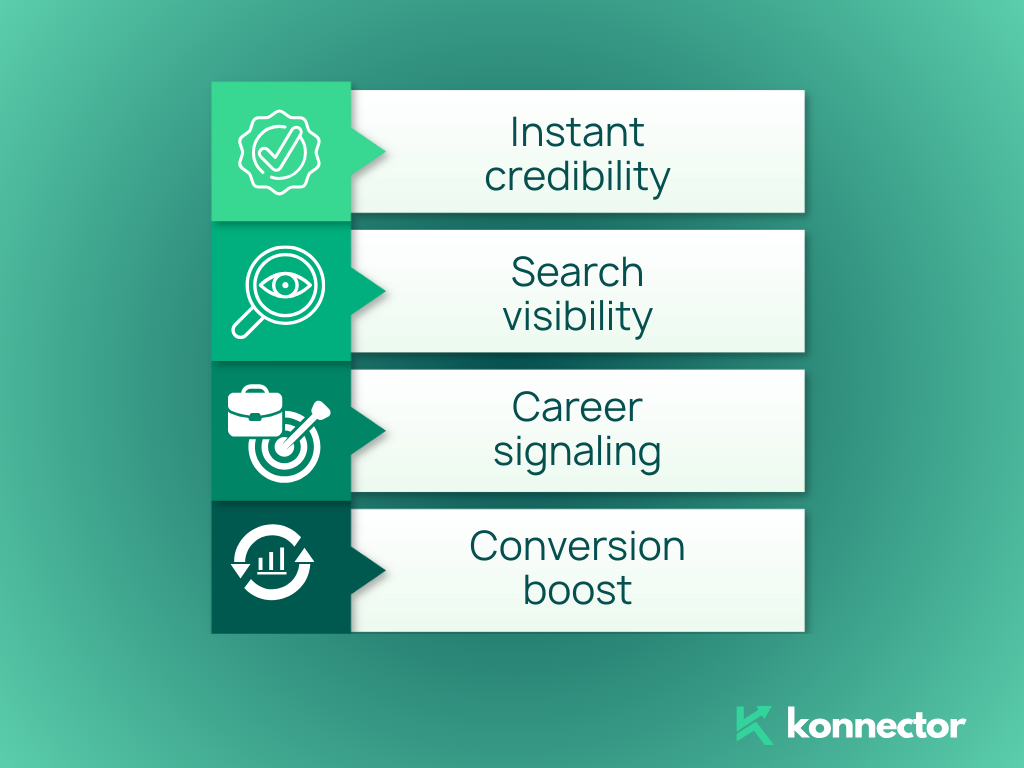
- Instant credibility: Certificates on LinkedIn help recruiters and clients verify your skills at a glance.
- Search visibility: Adding standardized certificate names and issuing organizations improves keyword match in searches.
- Career signaling: Recent completions show continuous learning, which hiring managers value for fast-changing roles.
- Conversion boost: Strong profiles with relevant certificates tend to get more profile views, InMails, and interview requests.
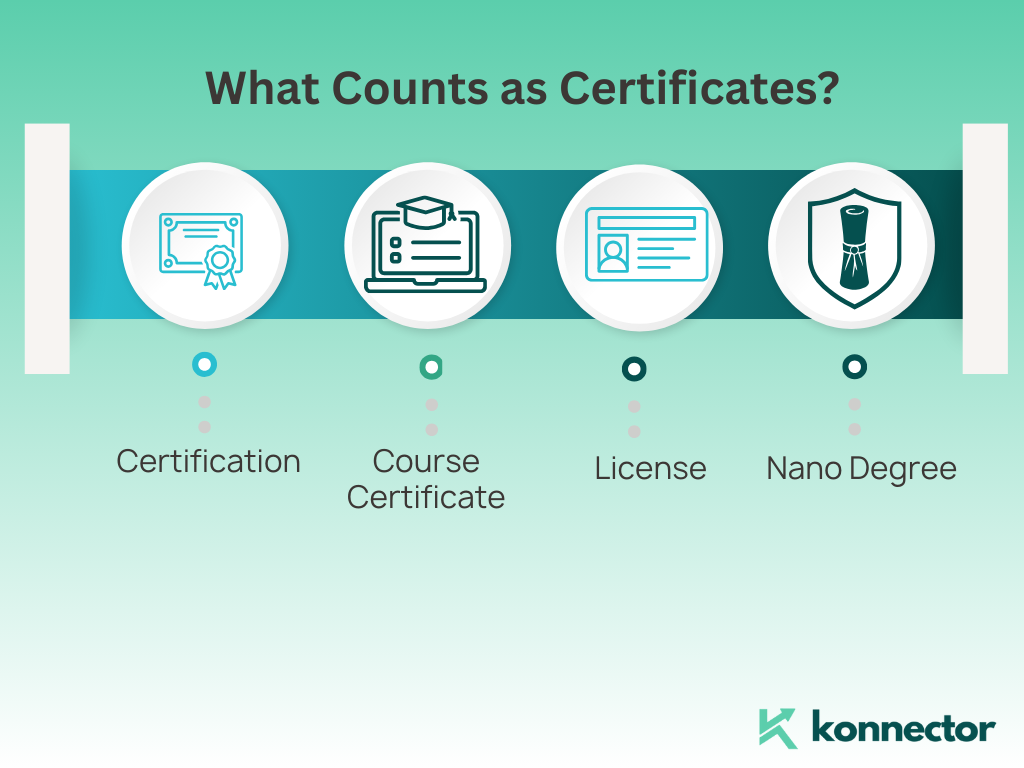
What Counts as a Certificate on LinkedIn
- Certification: A formal credential often with an exam and an optional expiration (e.g., “AWS Certified Solutions Architect – Associate”).
- Course Certificate: Proof you completed a course or specialization (e.g., “Google Data Analytics Professional Certificate”).
- License: A regulated credential that allows practice in a jurisdiction (e.g., “Professional Engineer – PE”).
- Micro-credential/Nano-degree: Short, skill-specific programs from universities or platforms.
Before You Start: Information to Collect
- Exact certificate name (match the issuer’s official title)
- Issuing organization (exact brand spelling)
- Issue date and expiration date (if applicable)
- Credential ID (if provided)
- Credential URL (verification or shareable link)
- Any scope or level (Associate, Professional, Advanced, etc.)

How to Add Certificates on LinkedIn (Desktop)
- Log in to LinkedIn on your desktop browser.
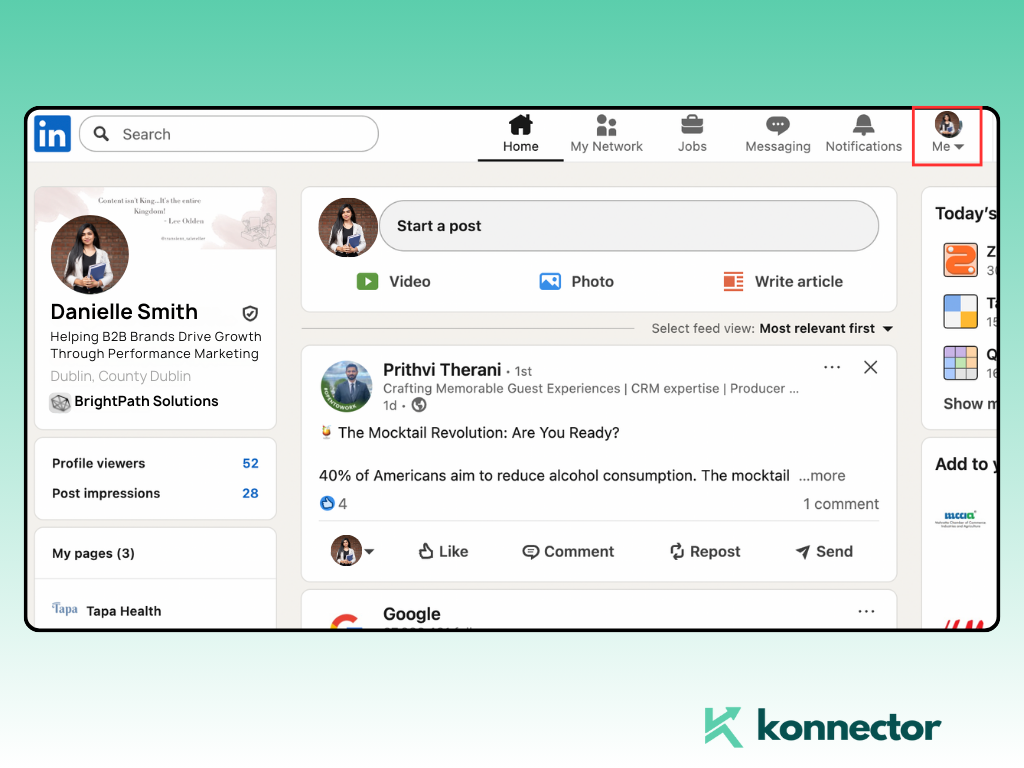
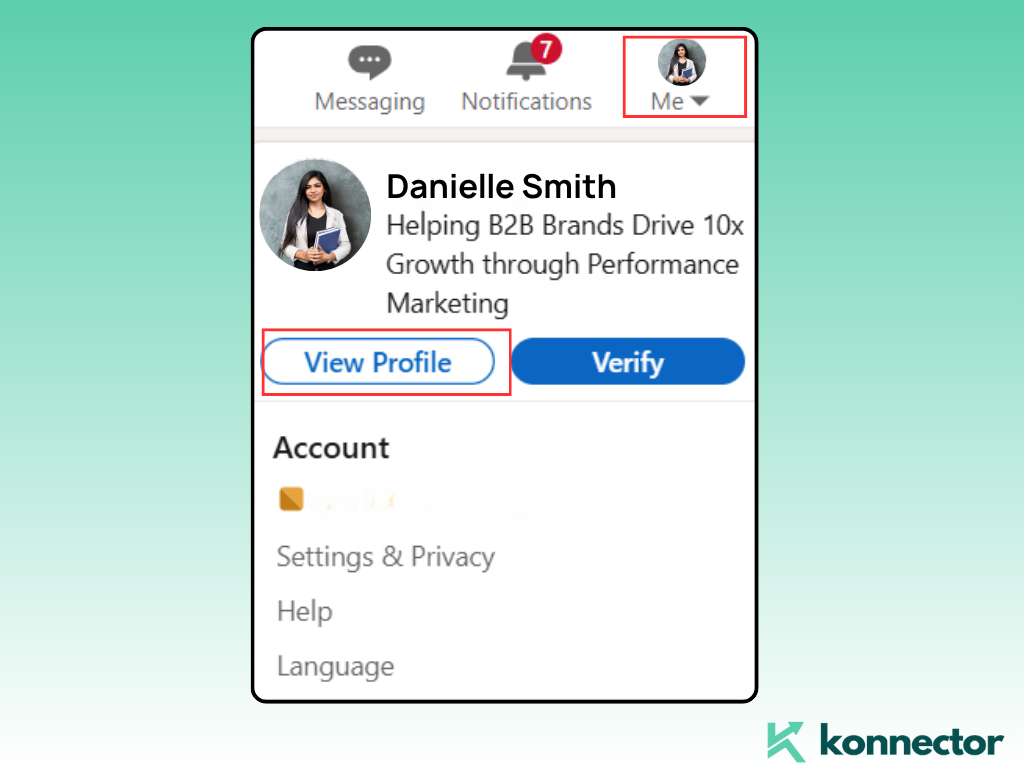
- Click Me in the top navigation and choose View Profile.
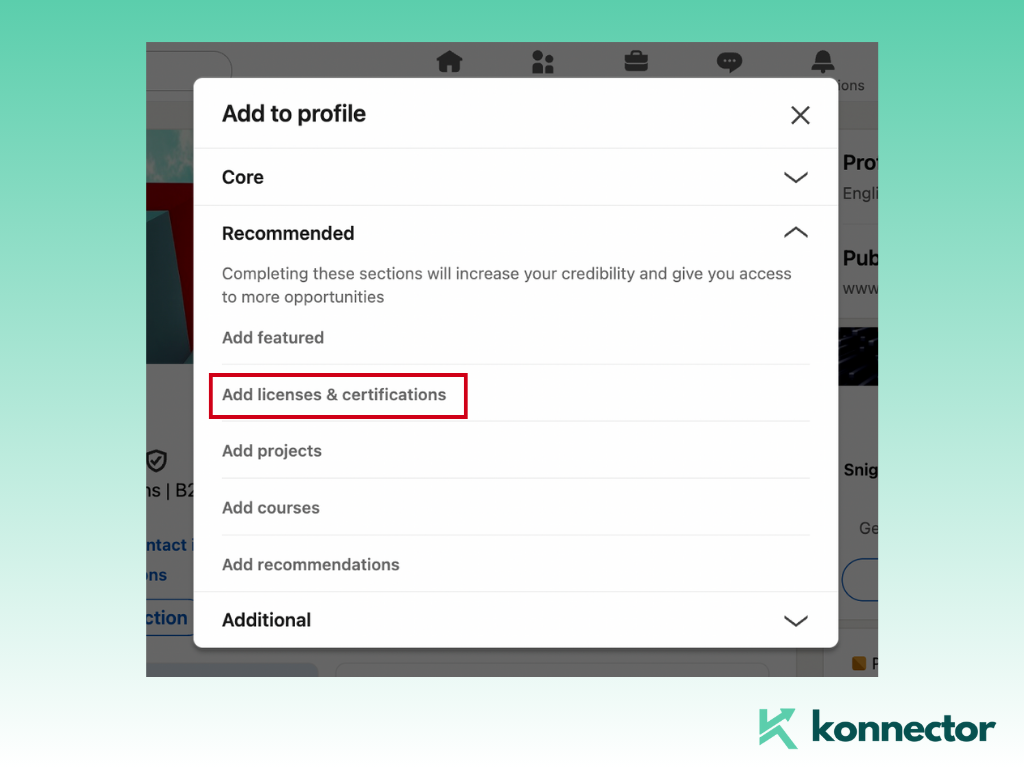
- Scroll to find the Licenses & Certifications section. If you don’t see it, click Add profile section → Recommended or Core → Add licenses & certifications.
- Click the + icon in the section header.
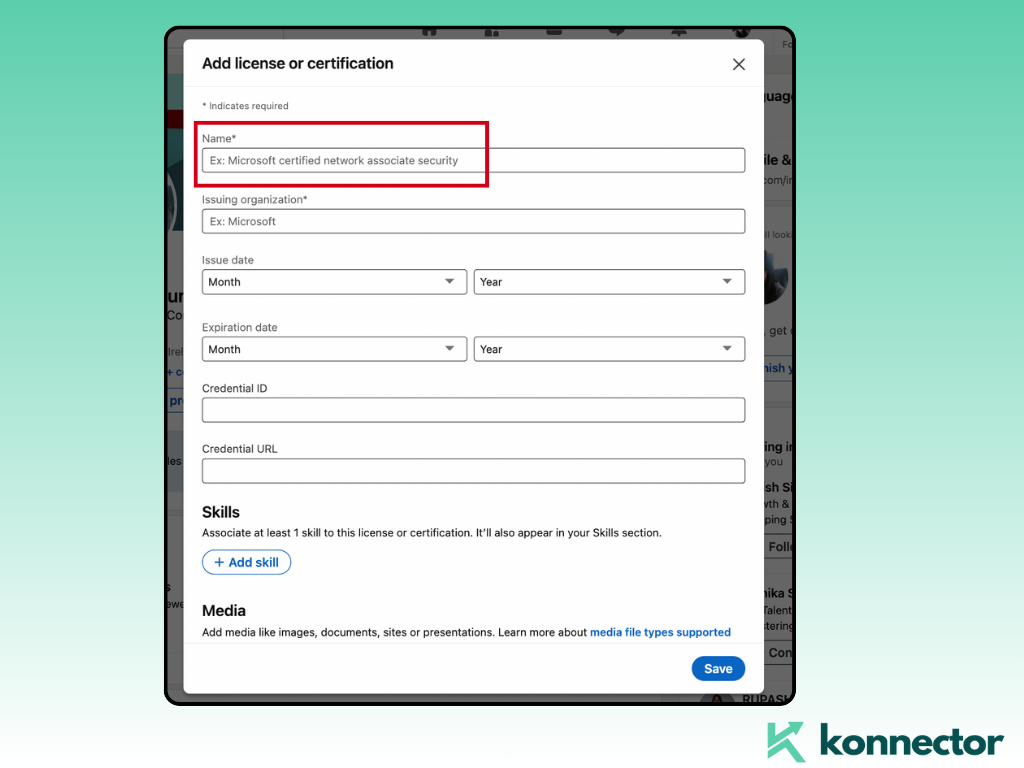
- Enter the Name of your certificate exactly as the issuer lists it.
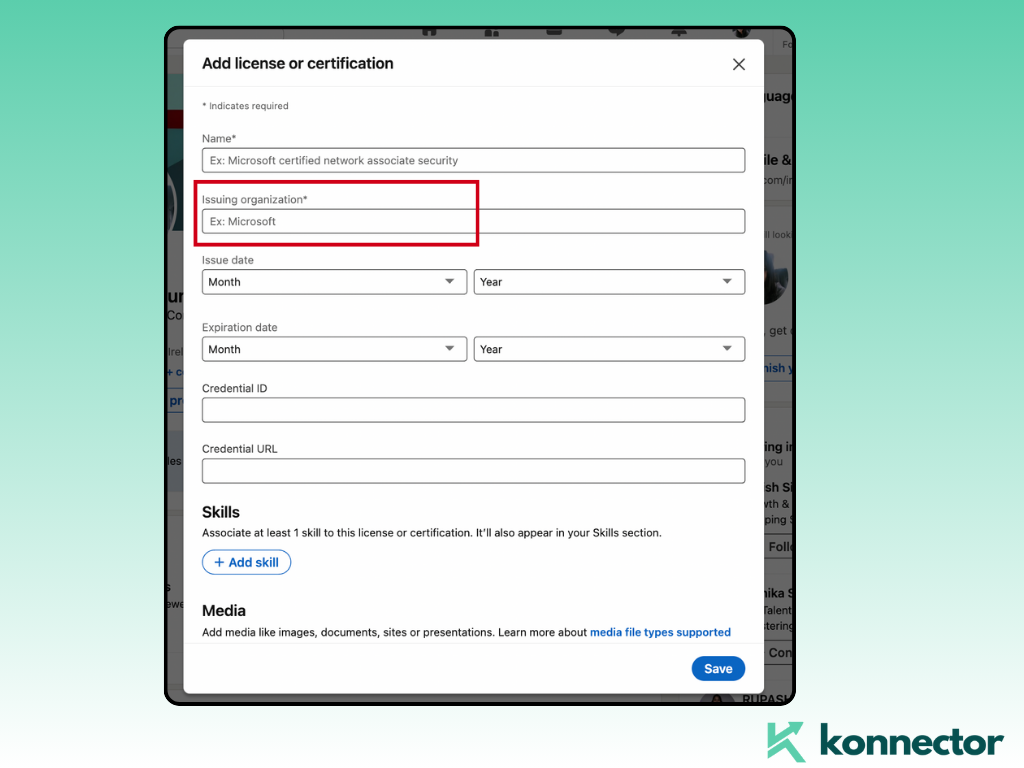
- Type the Issuing Organization. Select the official LinkedIn Page from the dropdown so the logo appears.
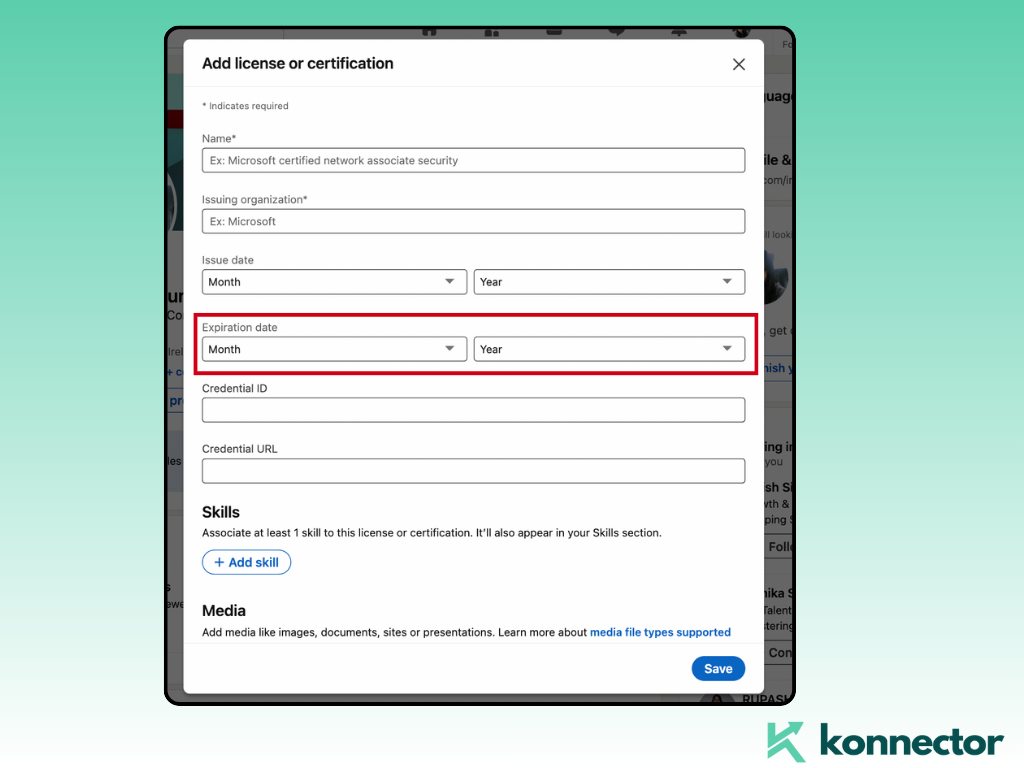
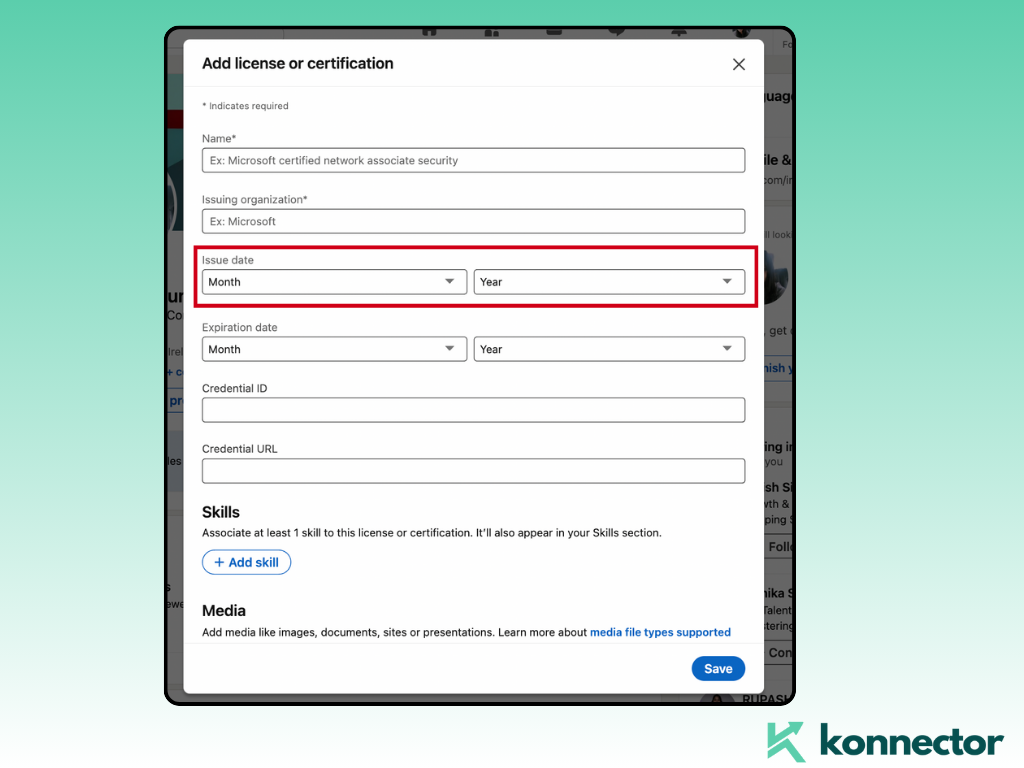
- Check or uncheck This credential does not expire. If it expires, add the Expiration Month/Year.
- Add the Issue Month/Year.
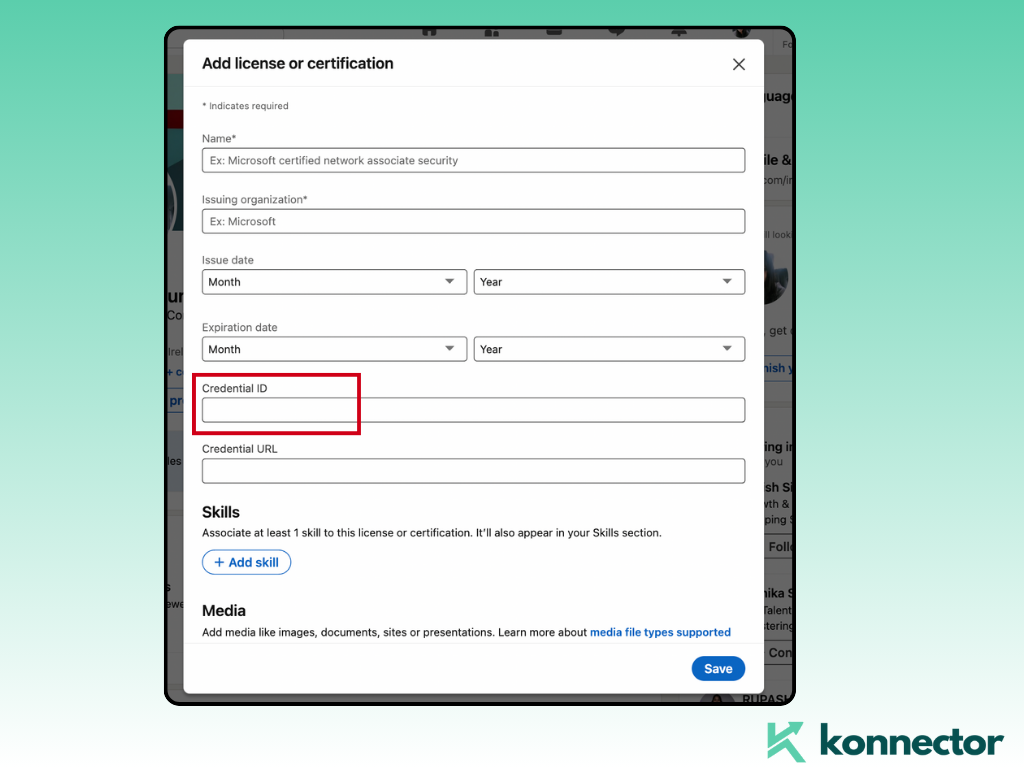
- Paste the Credential ID if one exists (optional for many course certificates).
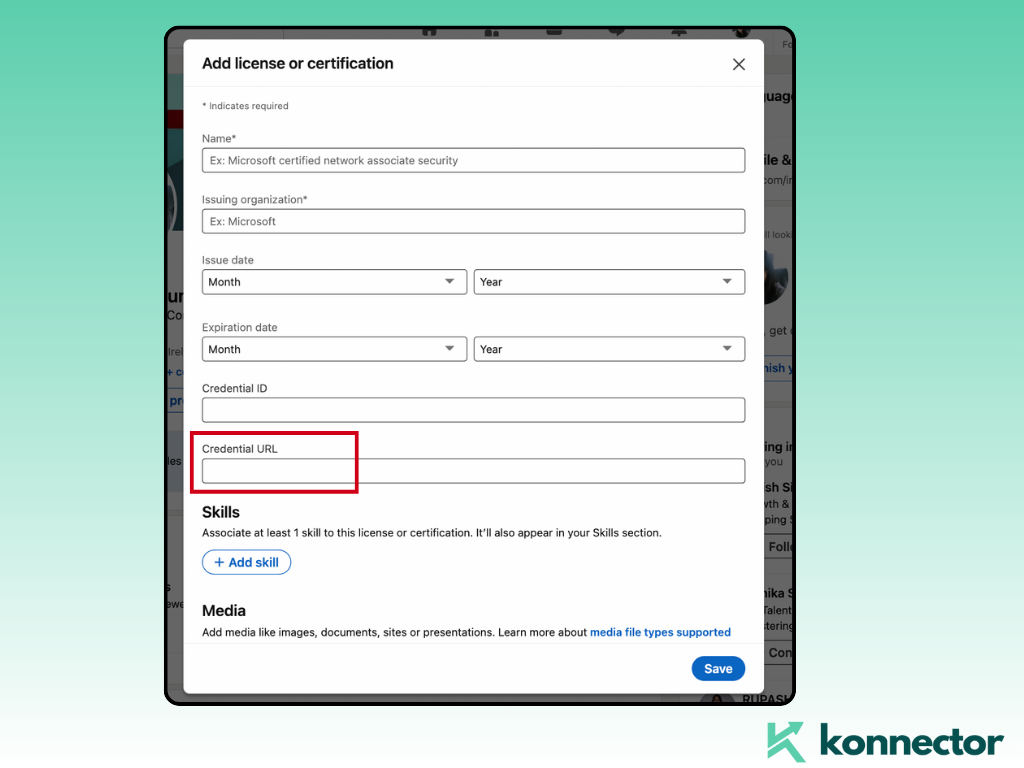
- Paste the Credential URL if the issuer provides a verification page or share link.
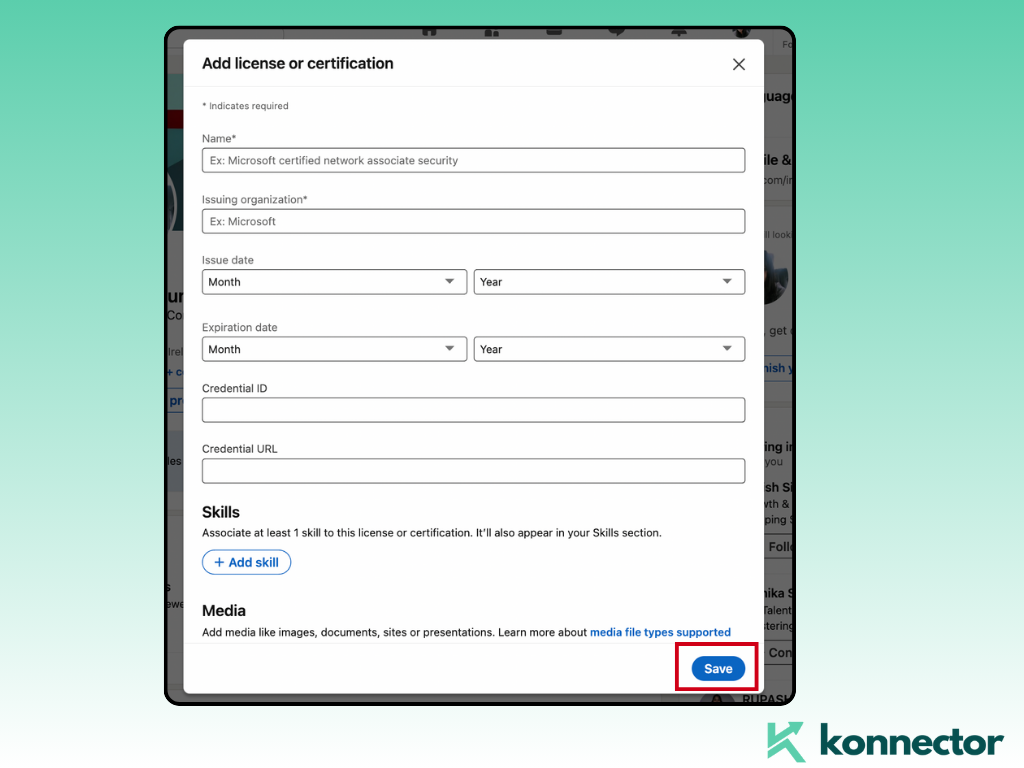
- Click Save.
- Refresh your profile to confirm it appears under Licenses & Certifications with the issuer logo.

How to Add Certificates on LinkedIn (Mobile App)
Here is a simple step-by-step guide for you to add certificates on LinkedIn:
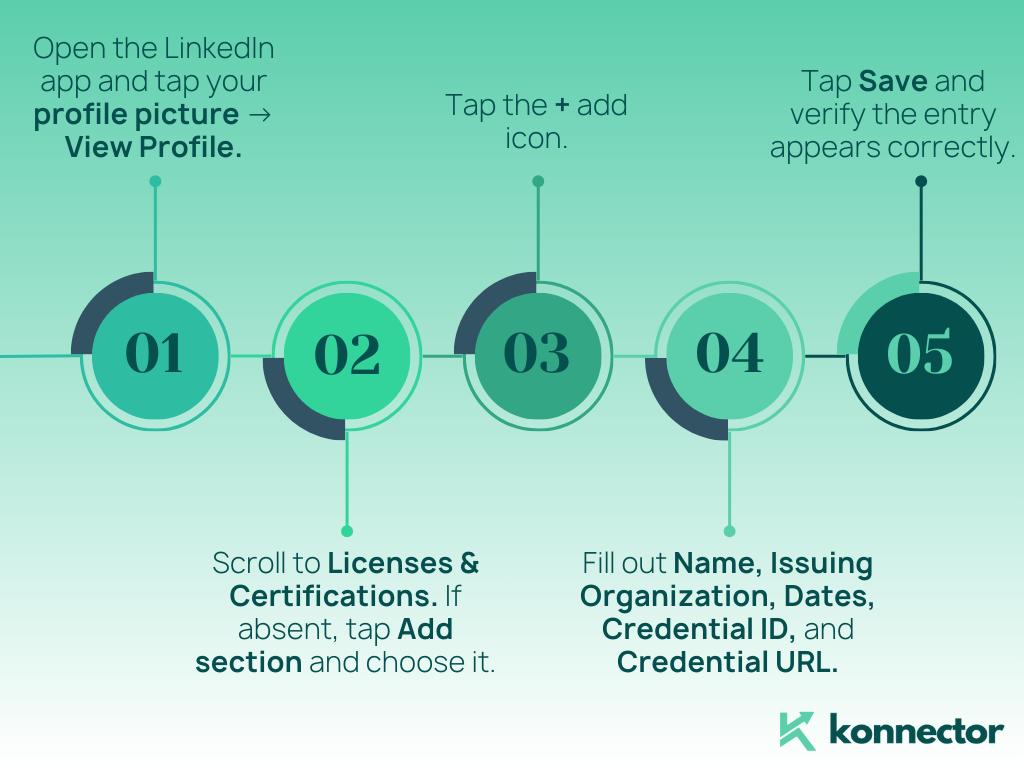
- Open the LinkedIn app and tap your profile picture → View Profile.
- Scroll to Licenses & Certifications. If absent, tap Add section and choose it.
- Tap the + add icon.
- Fill out Name, Issuing Organization, Dates, Credential ID, and Credential URL.
- Tap Save and verify the entry appears correctly.
Where Your Certificates Appear—and How to Reorder
- Certificates show in the Licenses & Certifications section; the most recent typically displays first.
- To reorder sections on desktop, click the pen icon near your headline and use the Reorder option if available to drag major sections.
- To highlight a key credential, also add its proof link or badge to the Featured section via Add profile section → Recommended → Add to Featured.
Best Practices to Optimize “Certificates on LinkedIn”
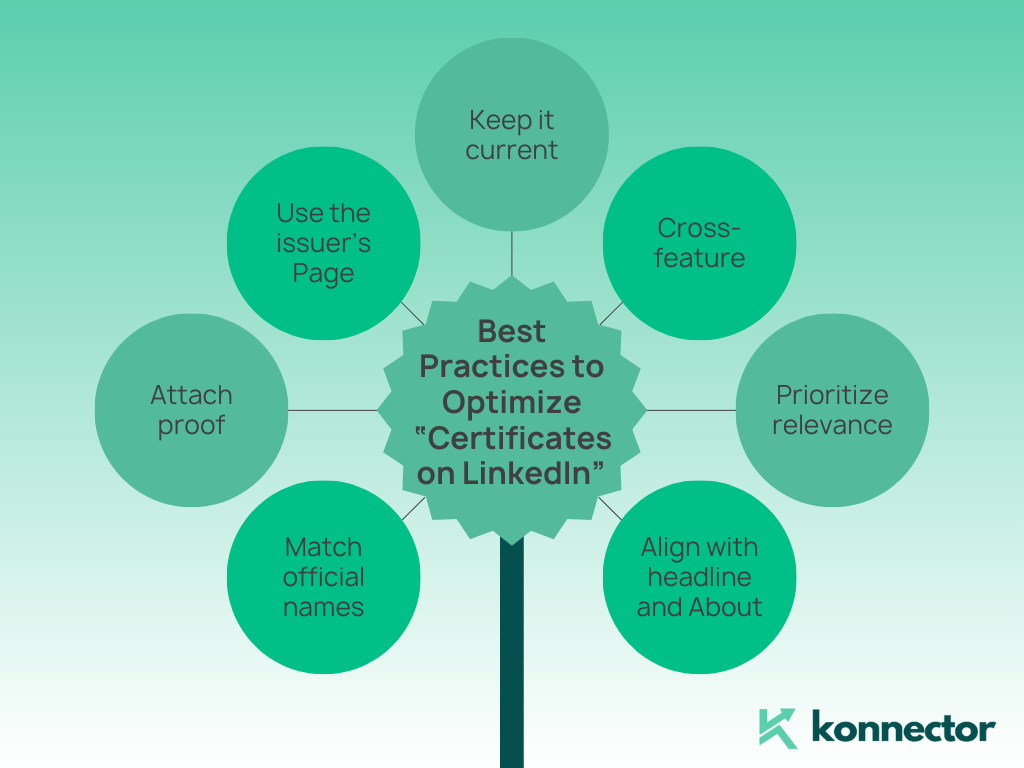
- Match official names: Use the issuer’s exact certificate title to help recruiters’ filters and ATS match.
- Attach proof: Always include a Credential URL or verification link when possible.
- Use the issuer’s Page: Select the official LinkedIn Page so the logo appears in your entry.
- Keep it current: Add new certificates within 24–48 hours of completion to leverage fresh activity visibility.
- Cross-feature: Share a short post announcing the achievement and tag the issuing organization; add that post to Featured.
- Prioritize relevance: If you have many, keep the most role-relevant certificates visible and archive outdated ones.
- Align with headline and About: Echo certificate keywords in your Headline and About for stronger SEO.
Examples of Strong Certificate Entries
- Name: Google Analytics Individual Qualification (GAIQ) | Issuing Organization: Google | Issue Date: Aug 2025 | Credential ID: GA-1234-5678 | Credential URL: Public verification link
- Name: AWS Certified Solutions Architect – Associate | Issuing Organization: Amazon Web Services (AWS) | Issue Date: May 2025 | Expiration: May 2028 | Credential ID: AWS-0000-ABCD | Credential URL: Verification URL
- Name: HubSpot Content Marketing | Issuing Organization: HubSpot Academy | Issue Date: Jan 2025 | Credential URL: Shareable badge link
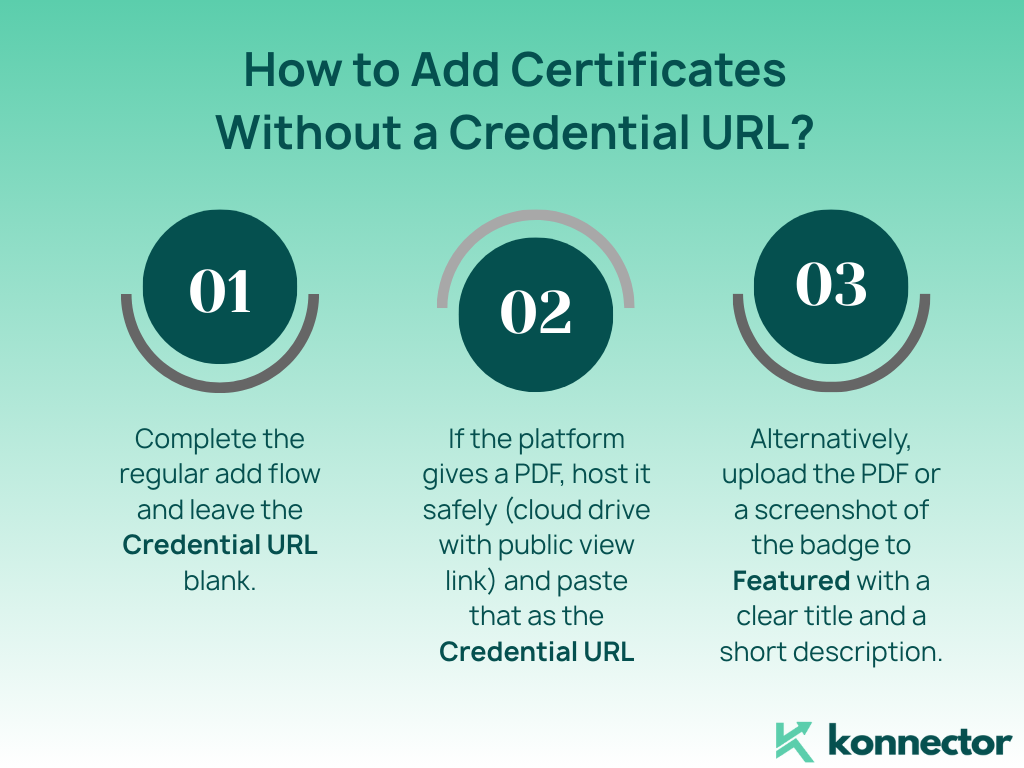
How to Add Certificates Without a Credential URL
- Complete the regular add flow and leave the Credential URL blank.
- If the platform gives a PDF, host it safely (cloud drive with public view link) and paste that as the Credential URL.
- Alternatively, upload the PDF or a screenshot of the badge to Featured with a clear title and a short description.
Adding Certificates Issued by Your Employer or University
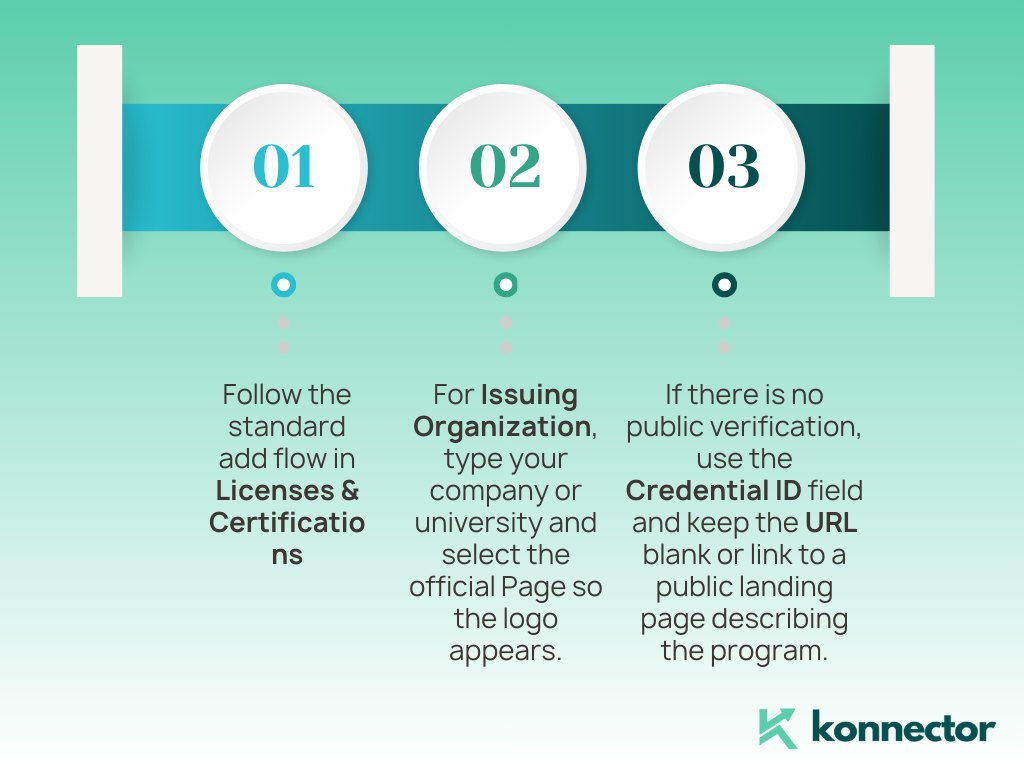
- Follow the standard add flow in Licenses & Certifications.
- For Issuing Organization, type your company or university and select the official Page so the logo appears.
- If there is no public verification, use the Credential ID field (e.g., HR record number) and keep the URL blank or link to a public landing page describing the program.
Attach a Certificate to a Job or Education Entry
- Open your profile and click the pen icon on the relevant Experience or Education entry.
- Use the Media or Link area to add the certificate PDF, badge image, or public verification link.
- Write a concise 1–2 line description that references the credential and its relevance to that role or degree.
Announce New Certificates on Your Feed
- Click Start a post and write a brief announcement centered on impact: what you learned and how you’ll apply it.
- Tag the issuing organization and optionally your instructors.
- Add 2–4 focused hashtags such as #certification, #continuouslearning, and a skill tag (e.g., #analytics).
- Attach the certificate image or share the Credential URL for verification.
- After posting, click the three dots on the post to Feature on profile so it appears in your Featured section.
Troubleshooting: Common Issues When Adding Certificates on LinkedIn
- Can’t find the section: Use Add profile section to enable Licenses & Certifications.
- Issuer not appearing: Type slowly and pick the official Page; if none exists, enter the name as text (logo won’t show).
- Broken credential link: Test the URL logged out in a private window. If gated, upload a PDF to Featured.
- Wrong order: Edit dates so the most recent appears first; add important items to Featured.
- Name mismatch: Copy the exact certificate title from the issuer to avoid confusion in recruiter searches.
- Duplicate entries: If a platform auto-adds a badge and you added one manually, keep the best and delete the duplicate.
Renewals, Expiration, and Versioning
- Expiring credentials: Set the expiration date so recruiters see validity at a glance.
- Renewal entries: When you renew, either update the existing entry with the new dates or add a new entry labeled with the new version (e.g., “v2” or “2025”).
- Superseded versions: Keep the latest visible; archive older versions unless a history of progression strengthens your story.
Privacy and Verification Tips
- Redact sensitive data: If your PDF shows a personal ID number, use a redacted copy for public sharing.
- Prefer issuer links: A verification page from the issuing body is stronger than a file hosted on your drive.
- Consistency: Use the same name format you use across job applications and resumes.
Make Certificates on LinkedIn Boost Your Job Search
- Align with target roles: Front-load certificates that match the job description keywords you’re pursuing.
- Mention in About: Add one sentence in your About section that names 2–3 marquee credentials.
- Tie to outcomes: In your Experience bullets, reference how the certified skill delivered measurable results.
- Keep it fresh: Add new certificates quarterly to surface activity signals to your network.
Measure the Impact
- Profile views before vs. after adding a credential
- Search appearances and keywords you’re showing up for
- Recruiter outreach volume and quality
- Engagement on your certificate announcement post
- Interview conversion rate for roles related to the certified skill
Quick Reference: Adding Multiple Certificates Efficiently
- Create a notes doc with standardized fields: Name, Issuer, Issue Date, Expiration, Credential ID, URL.
- Batch your additions on desktop for speed and accuracy.
- As you complete new programs, drop details into the doc so adding takes under a minute.
Pro Tips for Standout Presentation
- Use plain titles: Avoid emojis or extra punctuation in the certificate name field.
- Choose the best proof: Prefer a clean verification URL; if none, publish a portfolio page describing what you learned and link that.
- Connect to projects: Add a relevant project in the Projects section and reference the certificate skills used.
- Leverage Featured: Place one marquee credential in Featured with a crisp 1–2 line caption.
Summary
- Use the Licenses & Certifications section to add certificates on LinkedIn with exact names and official issuers.
- Include dates, a credential ID (if available), and a verification URL for trust.
- Feature marquee certificates, post announcements, and align with target roles to maximize impact.
- Maintain and refresh entries as you renew or add new credentials so your profile stays current.
11x Your LinkedIn Outreach With
Automation and Gen AI
Harness the power of LinkedIn Automation and Gen AI to amplify your reach like never before. Engage thousands of leads weekly with AI-driven comments and targeted campaigns—all from one lead-gen powerhouse platform.
Frequently Asked Questions
A certification usually involves an assessment and may expire (e.g., AWS). A course certificate confirms completion without a proctored exam (e.g., many platform courses). Both can live in Licenses & Certifications.
No. Many issuers don’t provide an ID. You can leave it blank and include a Credential URL if available.
Open your profile, click Add profile section, and choose Licenses & Certifications. Then click the + icon to add entries.
Enter it as text if there’s no official Page. You won’t get a logo, but the entry will still appear. Consider linking a public verification page in the Credential URL.
Only if the credential actually expires. Otherwise, select “This credential does not expire.”
Add it normally, then feature it: use Featured to pin the certificate post, badge image, or verification link at the top of your profile.
The section stores fields and a URL. Upload the PDF to your Featured section or host it and link via Credential URL.
Edit dates so the most recent appears first, and move the most important proof to Featured. You can also reorder major profile sections if LinkedIn shows the Reorder option.
Prioritize relevance. Keep the most role-aligned certificates visible; archive or remove less relevant ones to reduce clutter.
Keep a template doc with your field values. Batch entries on desktop for speed and accuracy.